Purpose of This Screen
Navigation Path:
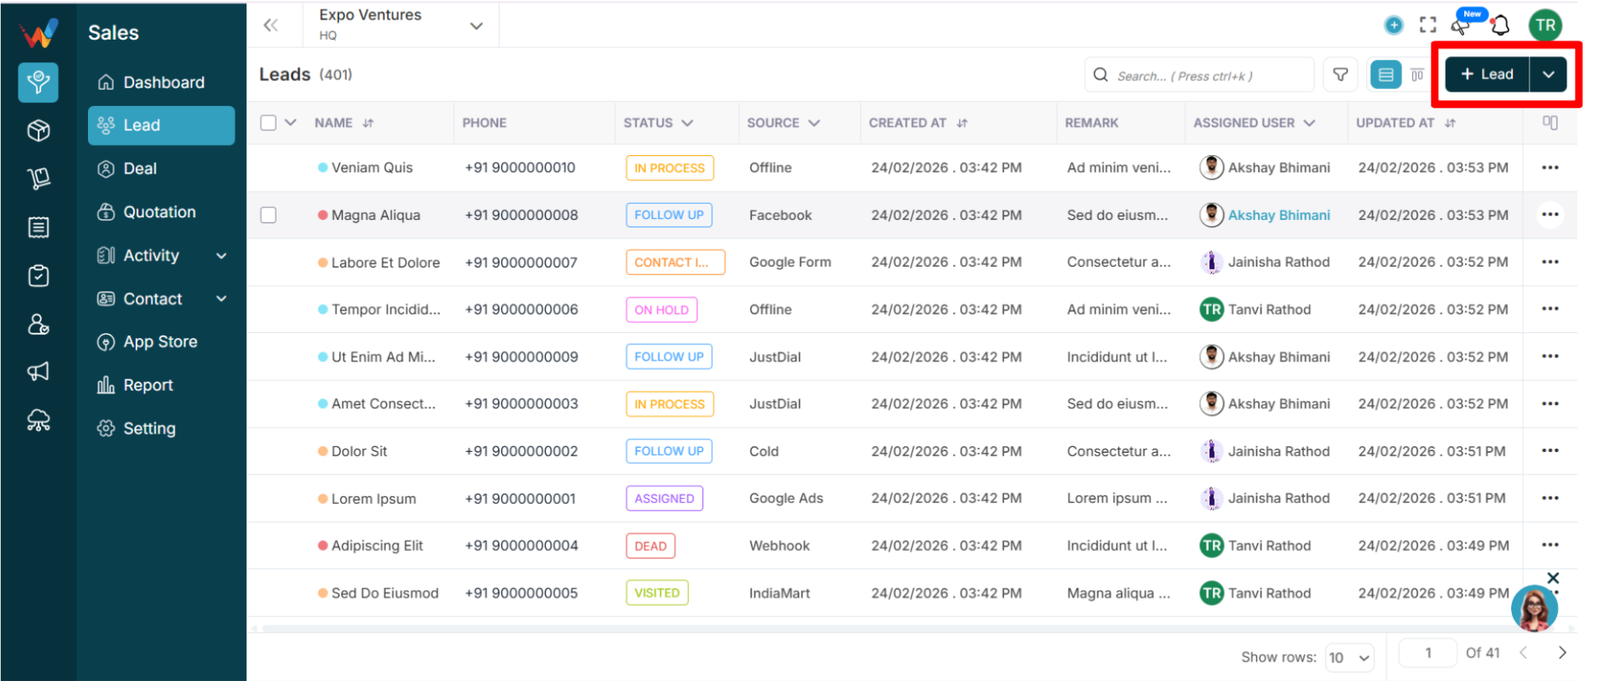
Sales Module → Lead → Click on + Inquiry
The Create Lead screen is used to:
- Add a new enquiry manually
- Capture complete lead information
- Assign source and status
- Store contact and business details
- Mark recurring leads
- Maintain structured data from day one
This is the entry point of the sales pipeline.
Top Header Area
Back Arrow
Returns to Lead List without saving.
User Dropdown (Top Right)
Shows assigned user for the lead.
Settings Icon
Used for lead configuration and custom field settings.
Section: Basic Details
Lead Name * (Required)
Enter the full name of the contact or business.
Examples:
- Rajesh Patel
- Amit Textiles
Mandatory field.
Contact Number
Country code selector (default: +91)
Plus icon supports multiple contact numbers.
Best practice: always enter at least one valid number.
Email
Optional but recommended.
Plus icon supports multiple emails.
Source (Dropdown)
Examples:
- IndiaMART
- Google Ads
- Cold
- Offline
Important for marketing tracking.
Status (Default: New)
Pre-selected as “New”
Can be changed during creation if needed
Lead Type (Dropdown)
Used to categorize lead type (example internal categories: Hot, Warm, Cold)
Remark
Short note about the first conversation.
Example: “Looking for 500 pcs cotton shirts.”
Description
Detailed explanation of requirement for internal clarity.
Show Other Details (Expandable)
Use this section for advanced information.
Lead Details (Expanded)
Business Name
Company or firm name.
Website
Official website (if available).
Alias
Alternative name or short code for internal use.
Lead ID
Unique internal identifier (if manually assigned).
Product
Product being enquired for.
Examples: Cotton fabric, Saree print, Garments
Amount
Expected deal value.
Used for forecasting and reporting.
Special Dates
Optional checkbox for special date tracking (example: birth date, anniversary).
Address Section
Typical fields:
- House no / building name
- Road name / area / colony
- Landmark
- Country
- State
- City
- Pin code
Best practice:
Fill city and state correctly for location-based filtering.
Recurring Lead
Options:
- Yes
- No (default)
If Yes:
Marks lead as recurring (repeat buyer pattern)
Other Details (Custom Fields)
All custom fields created in settings appear here.
Bottom Action Buttons
Cancel
Discards entered data.
Submit
Saves the lead.
After submission:
- Lead appears in Lead List
- Assigned status is applied
- Owner is assigned (based on system logic)
Step-by-Step Workflows
Scenario 1: Manual Entry from Phone Call
Click + Lead
Enter lead name
Enter contact number
Select source = Cold / Call
Keep status = New
Add a short remark
Click Submit
Scenario 2: High Value Business Lead
Fill basic details
Expand “Show Other Details”
Add business name
Enter product
Enter expected amount
Fill address
Submit
Common Mistakes and Best Practices
Common mistakes
Not selecting source
Not writing remark
Leaving amount empty for high-value leads
Skipping business name for B2B leads
Best practices
Always enter: source, product, remark
For serious enquiries: fill amount, business name, and address
Mark recurring if it is a repeat buyer